This weekend, I was on a course making my own pair of skis. Yes, really, handmade by myself. The course took two days, and although I did not know anything about how you build skis or had much experience with hand tools, I managed to make (almost) everything myself. Of course, a professional guide and tools are essential. But really, everybody can make their own pair of skis.
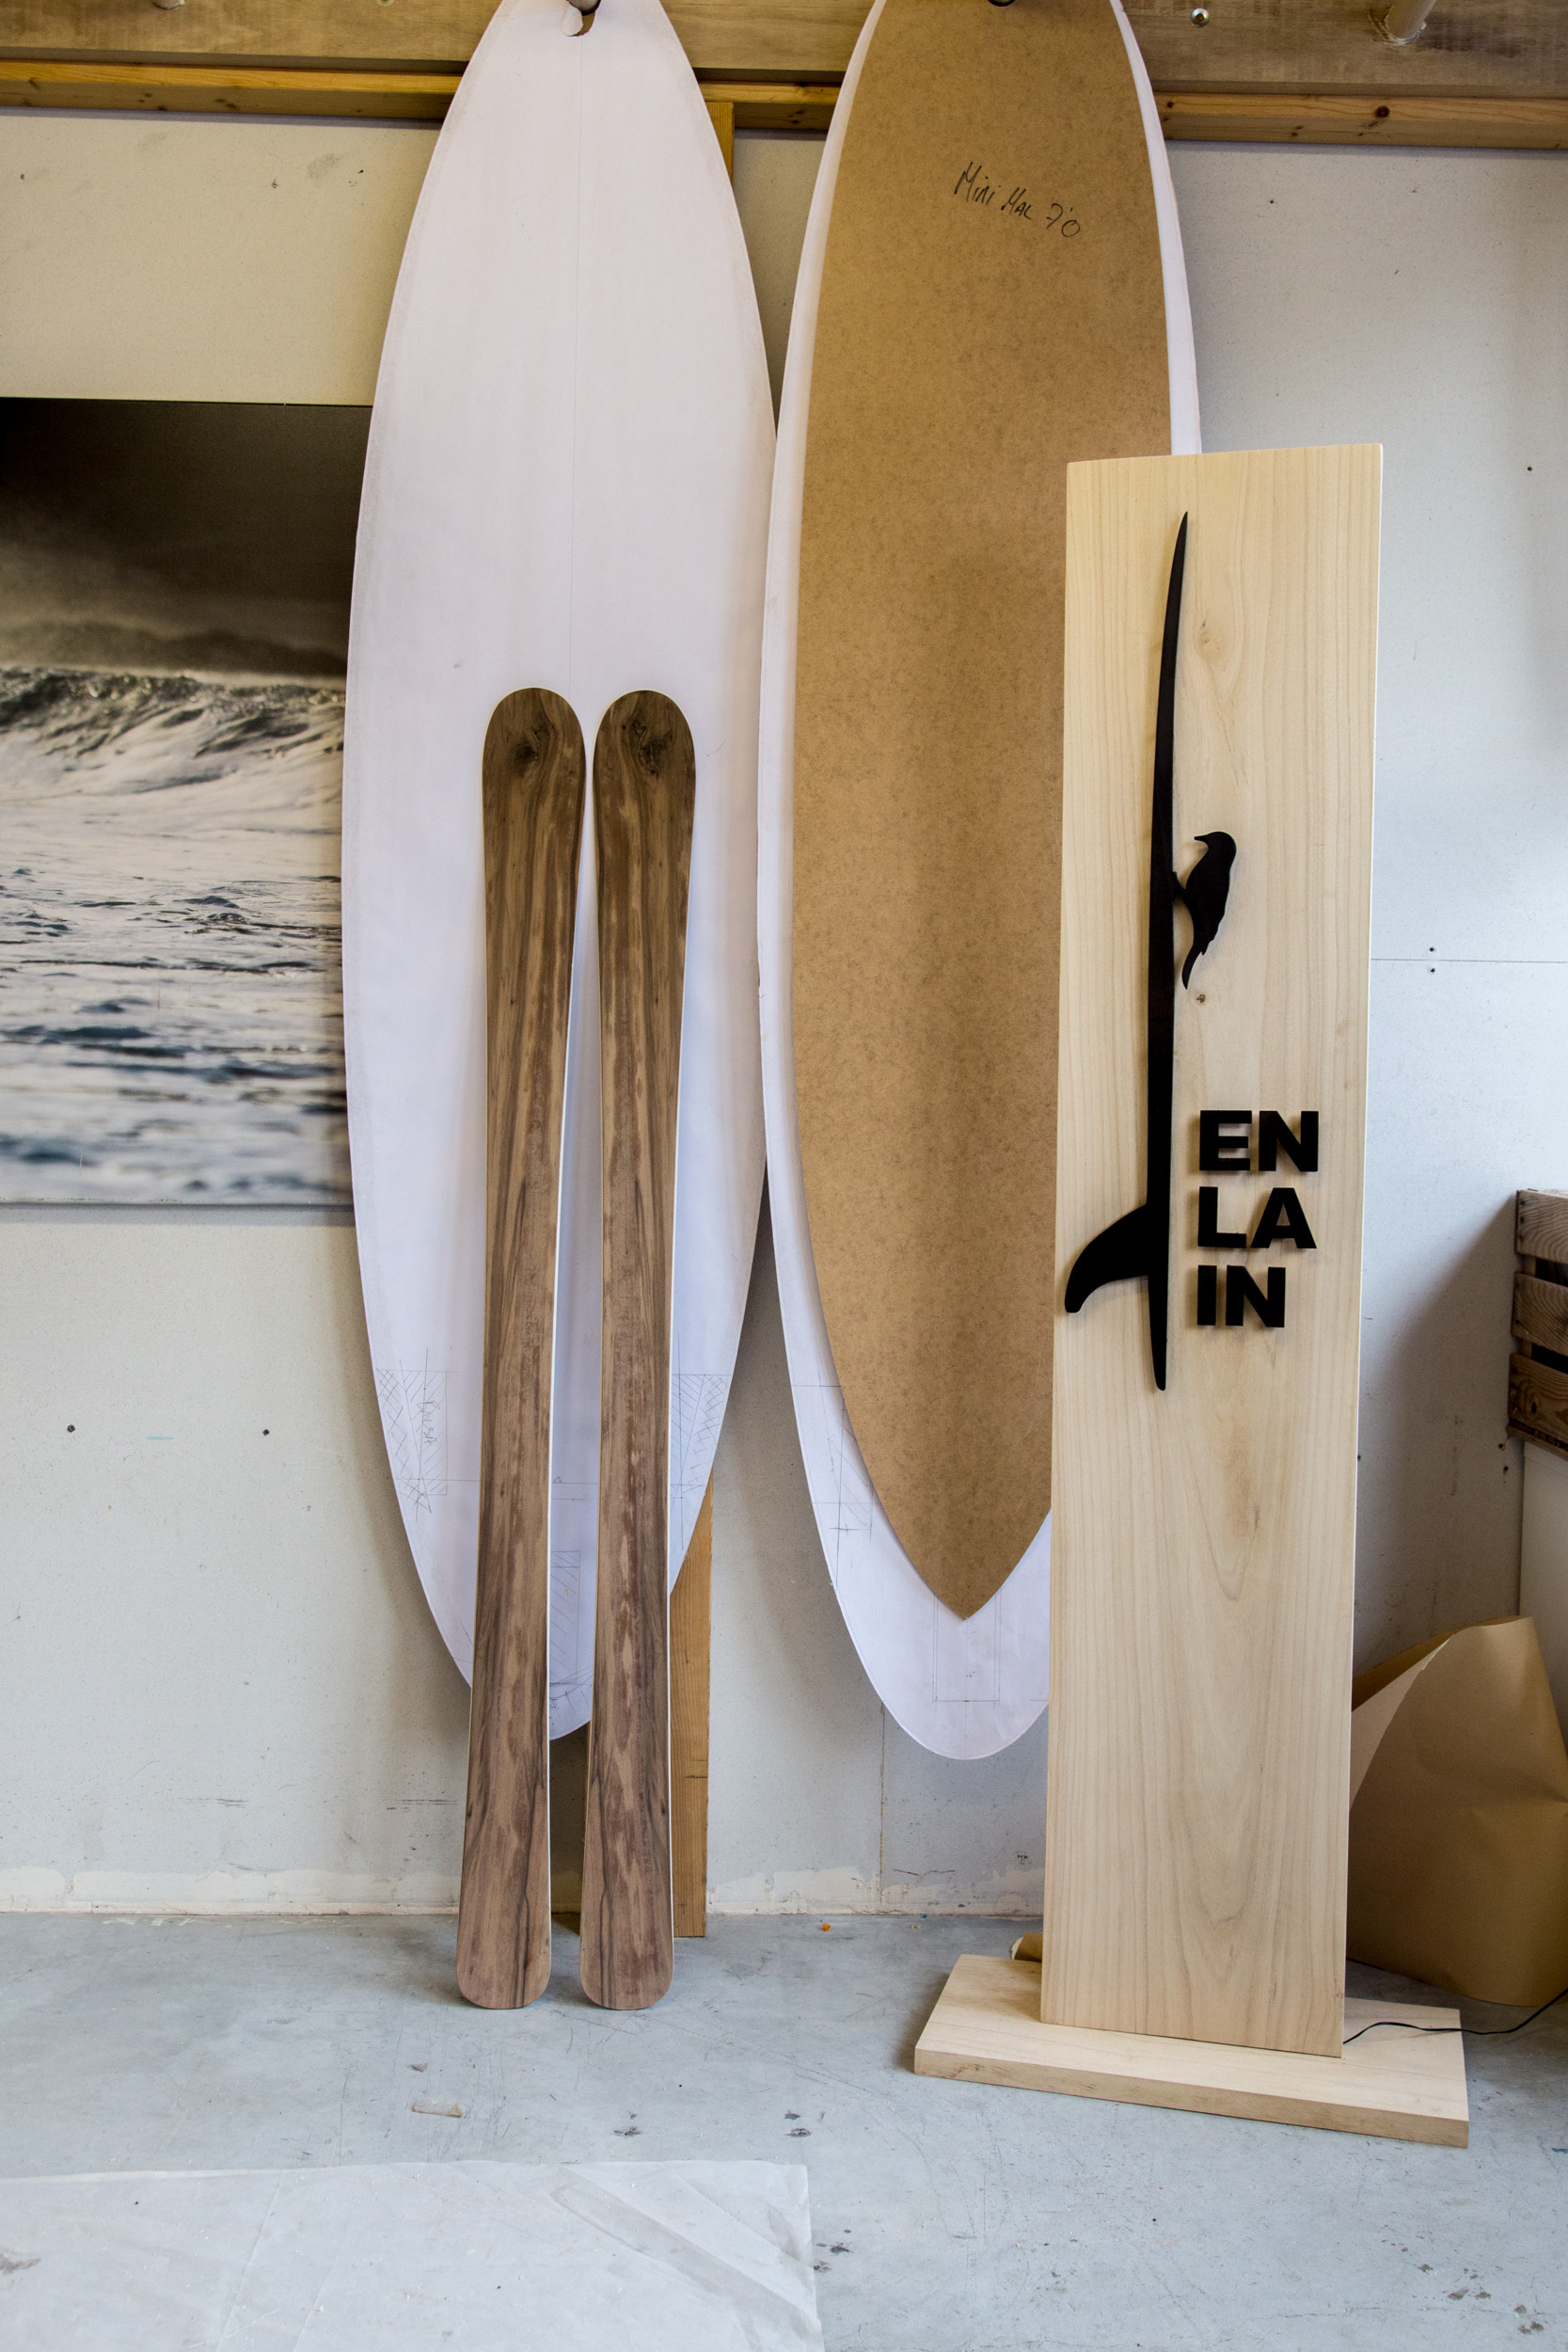
Enlain, is a craft shop in Laax. They produce surfboards, skis and snowboards and offer courses to build your own boards and skis. The workshop started at 8 on Saturday morning in Laax and I had to get up really early to get there in time. The first step was to choose which type of ski and the length. I wanted an allround ski, that I will use for telemark skiing. Making my own ski and using it for telemark was the only excuse I had to get yet another pair of skis. But really, the right number of skis is always n + 1, right?
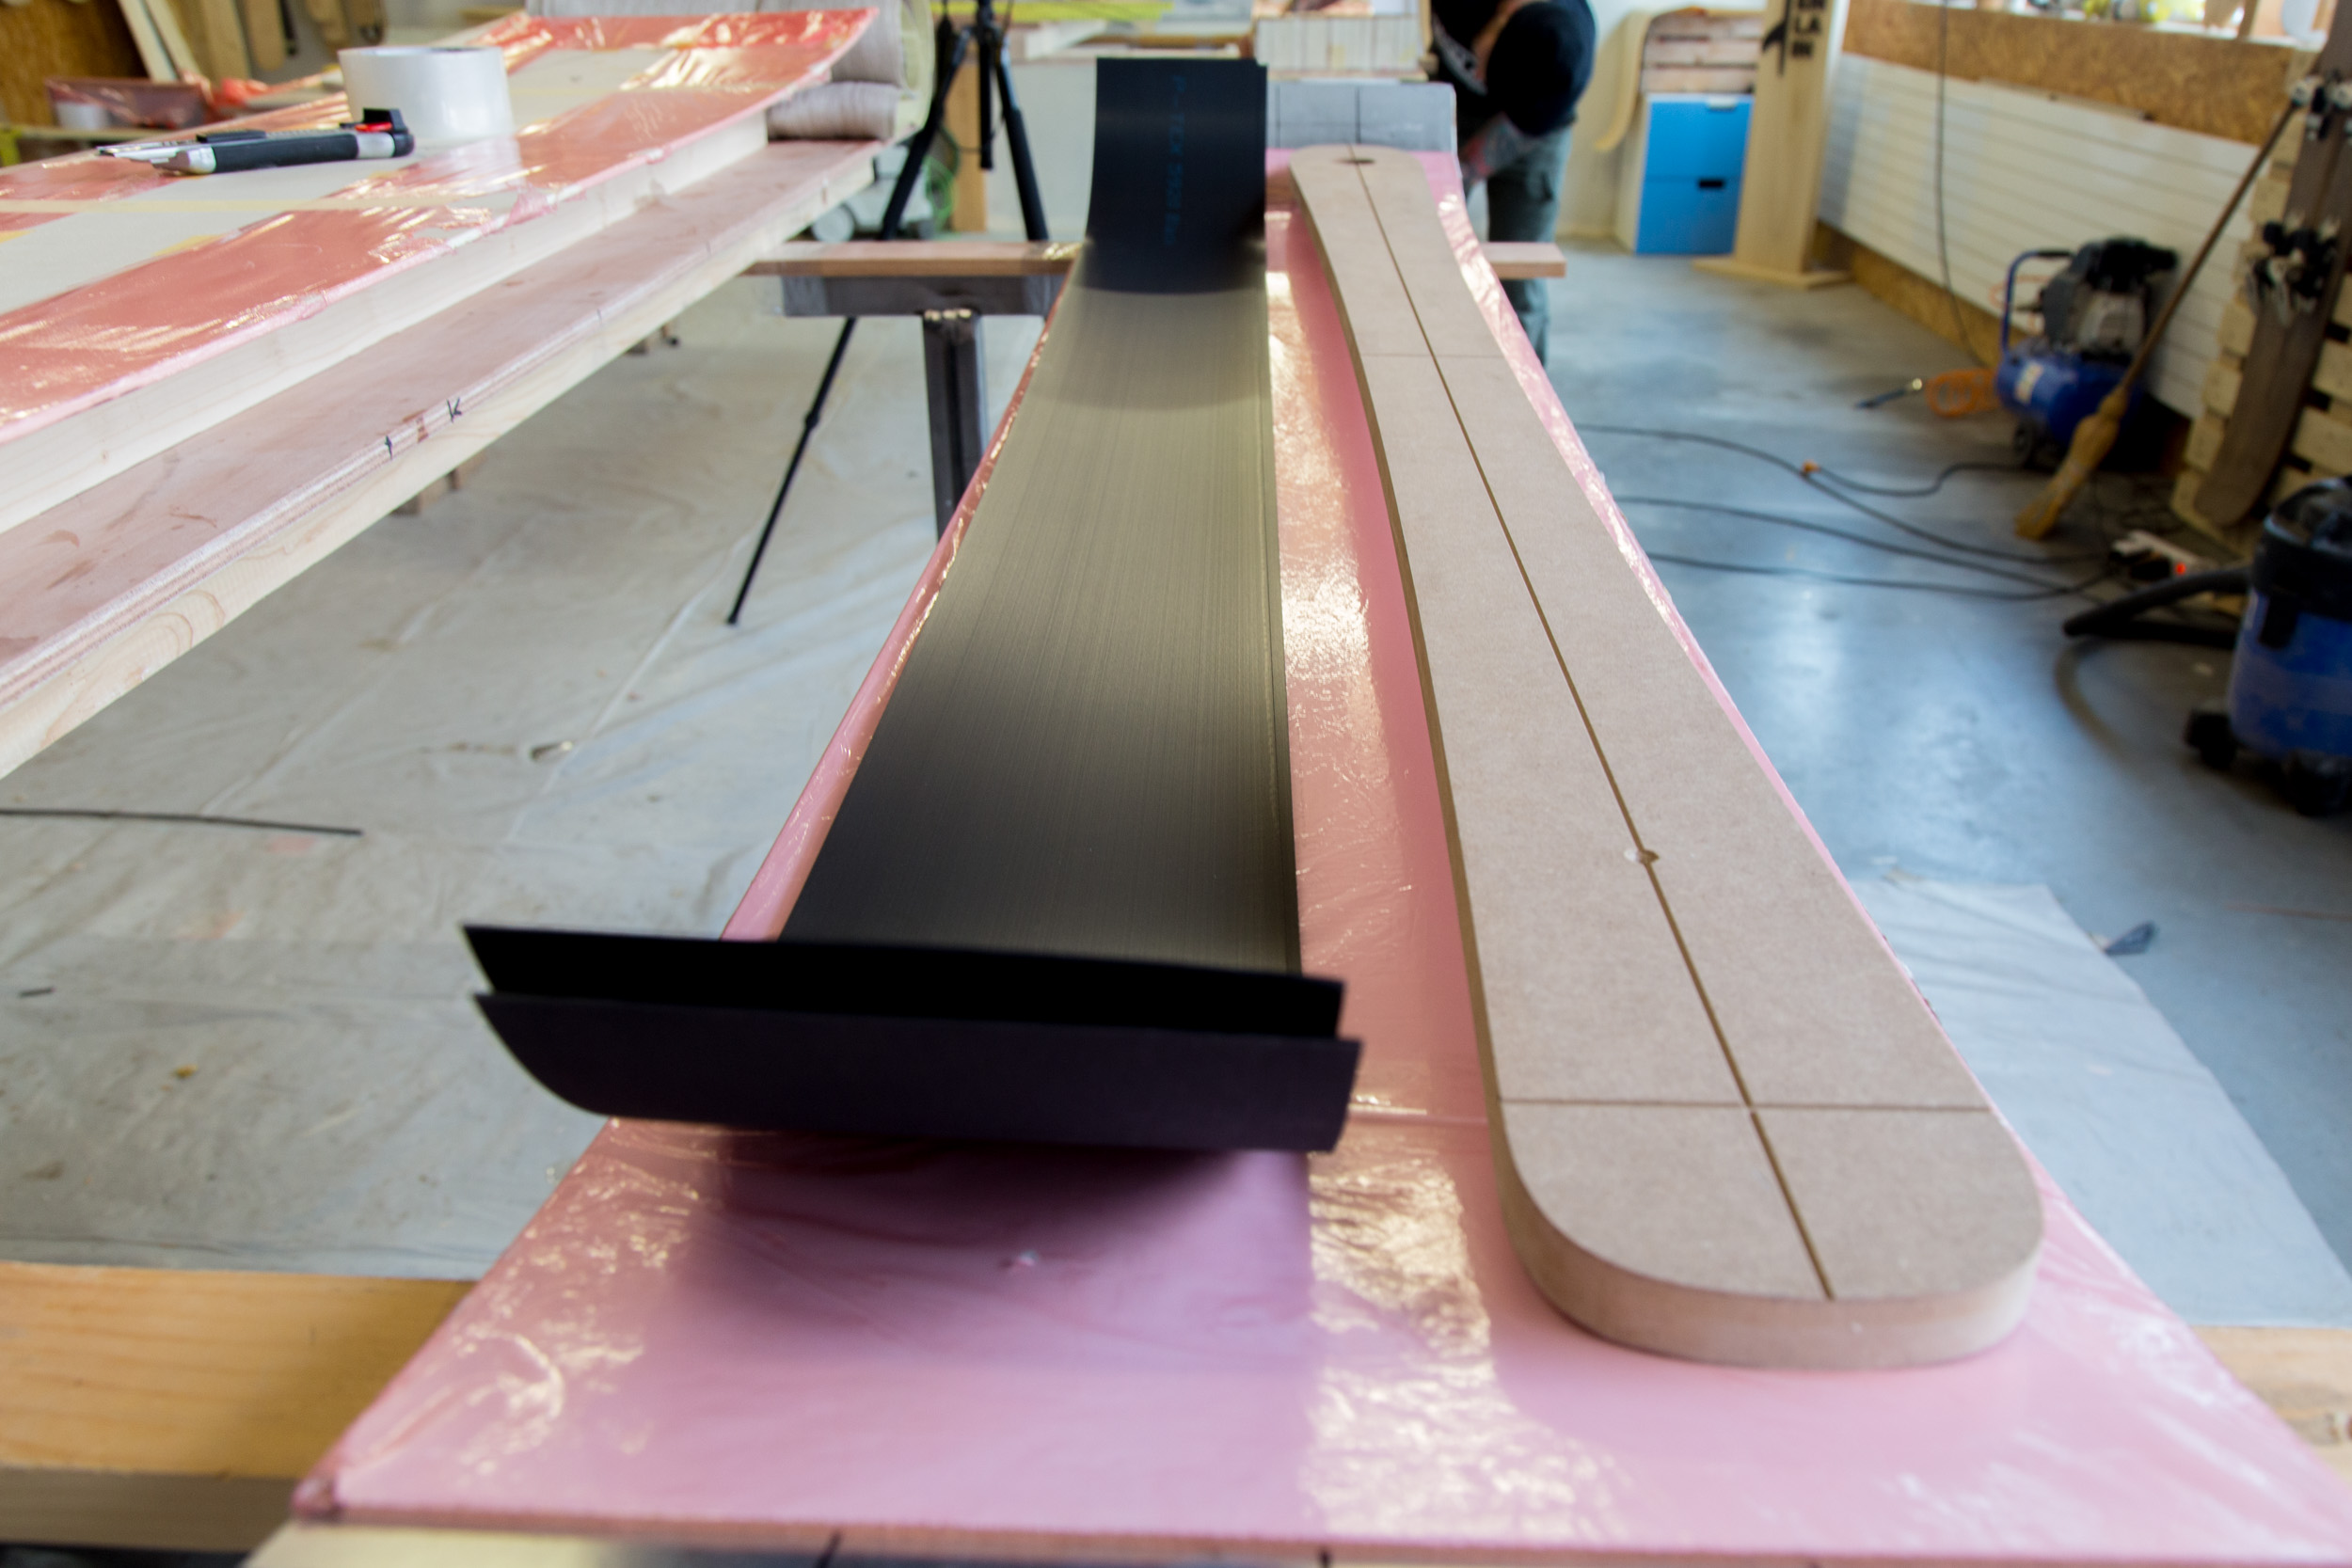
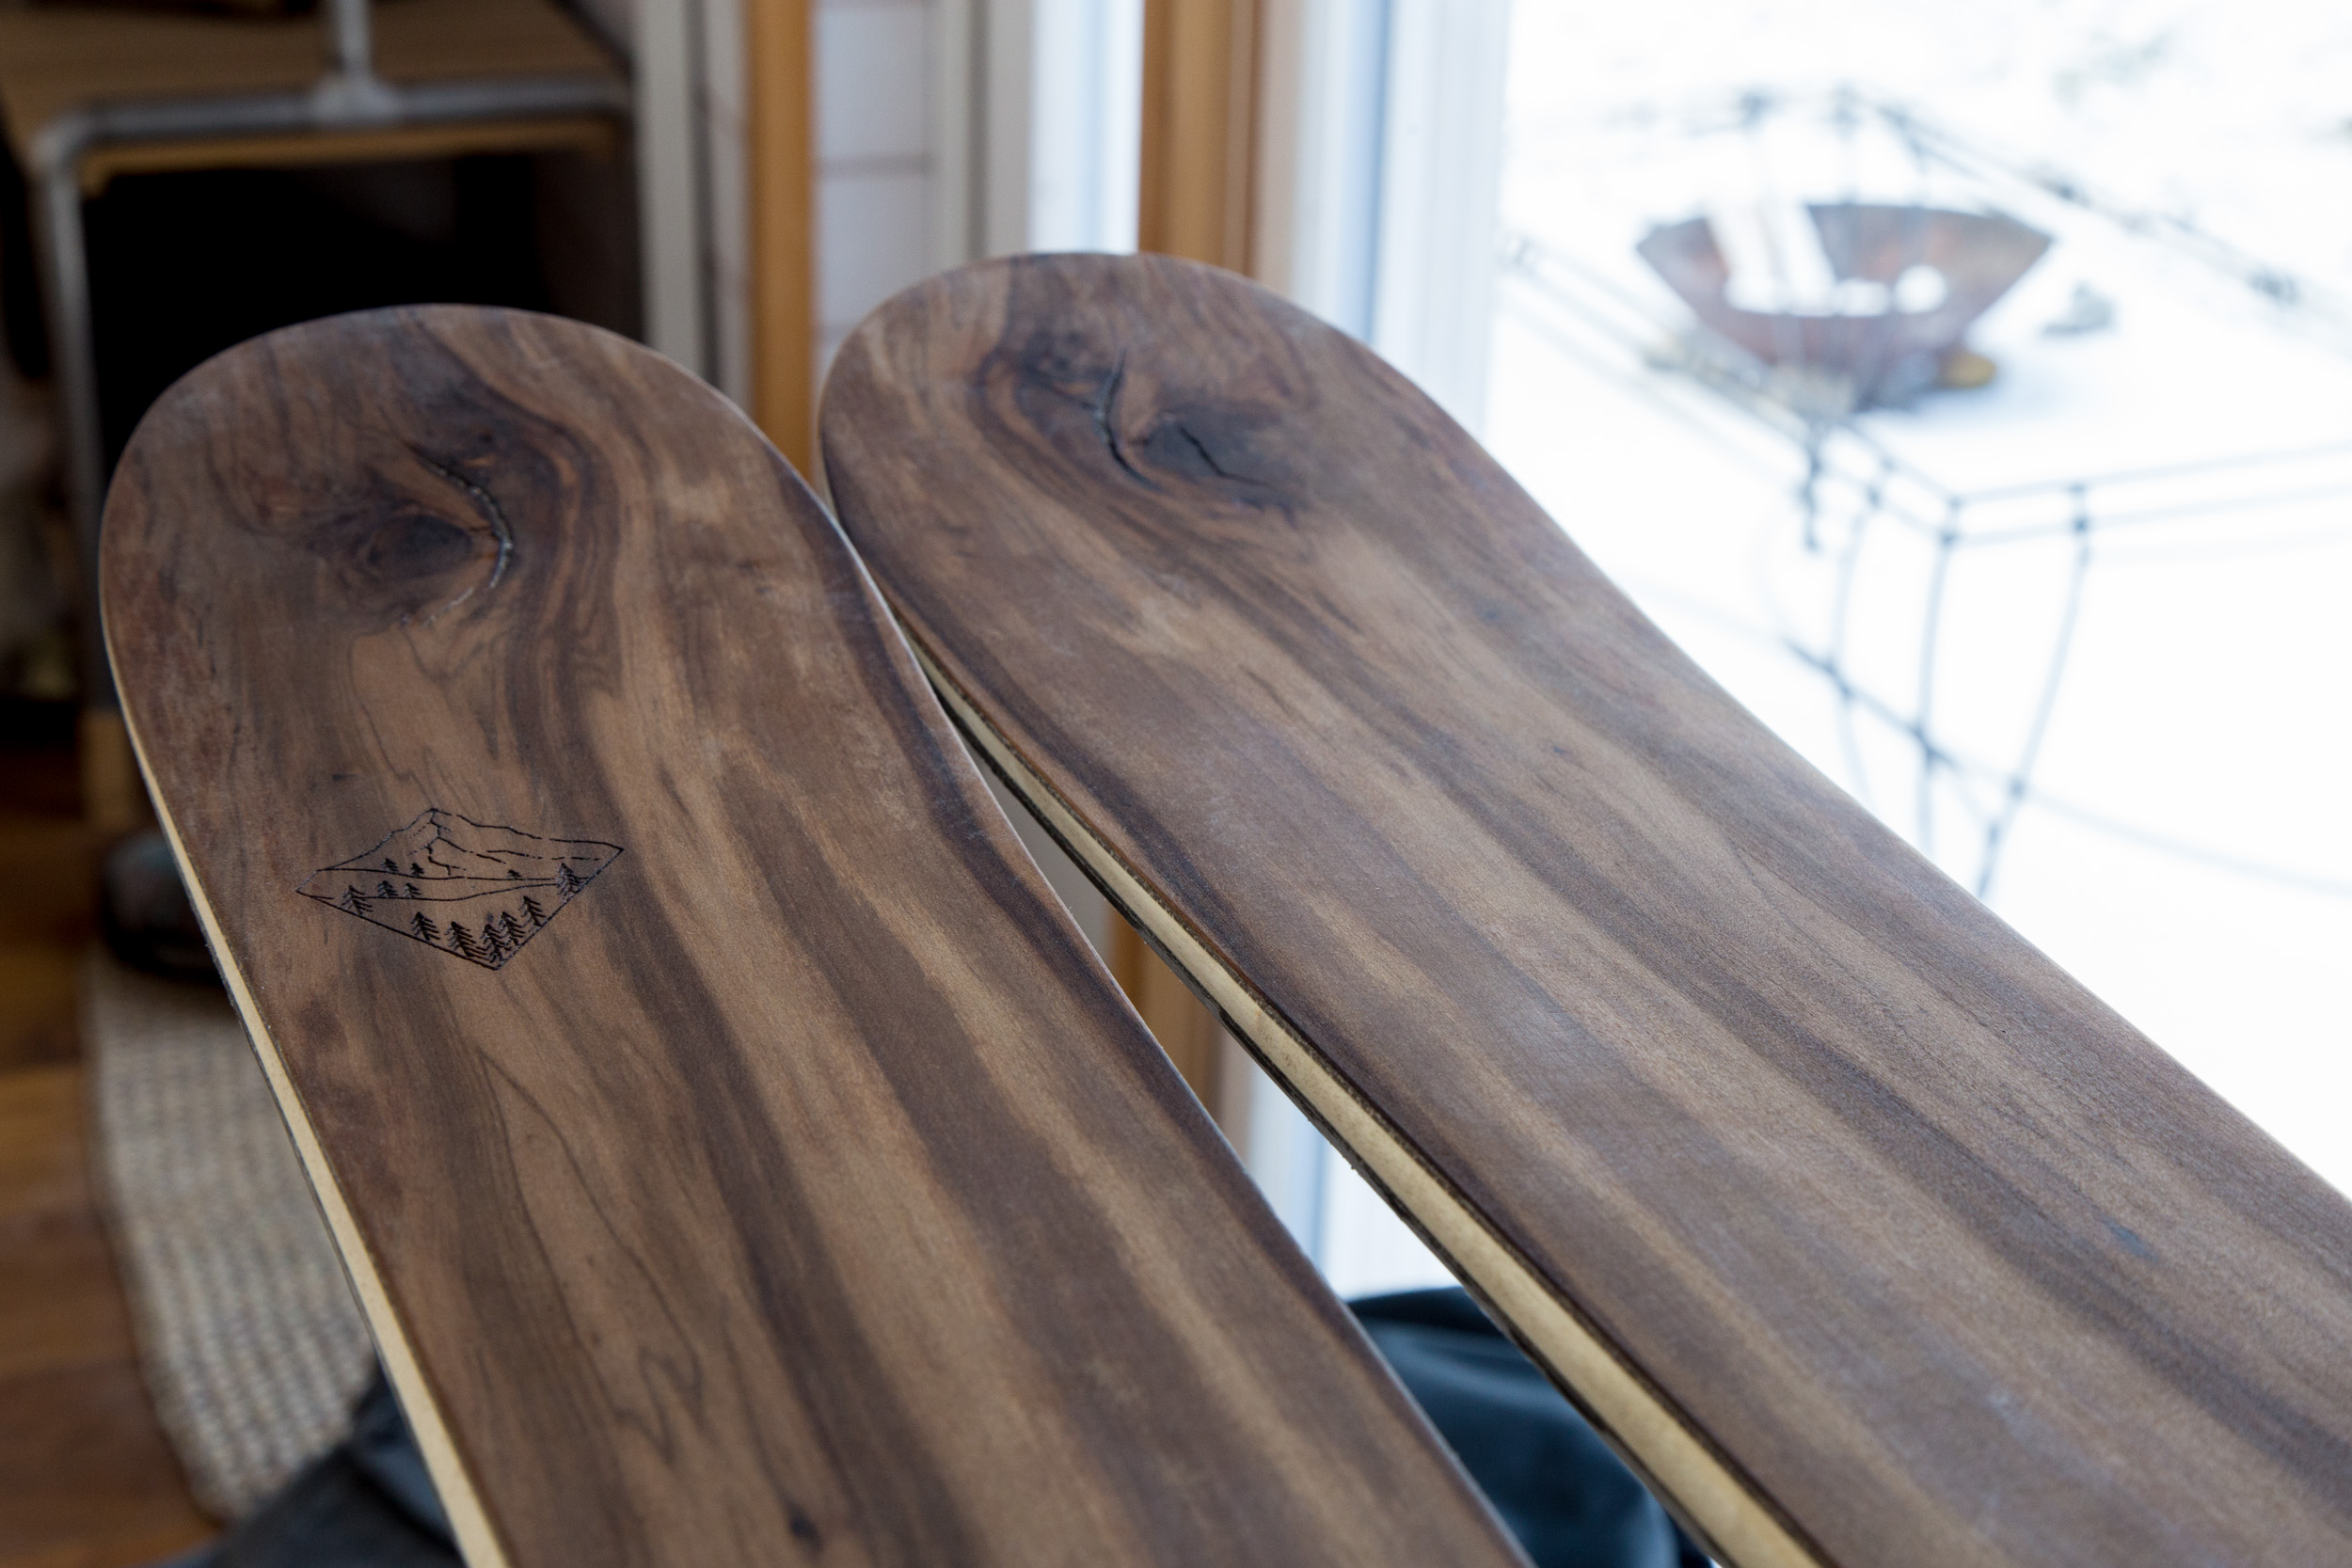
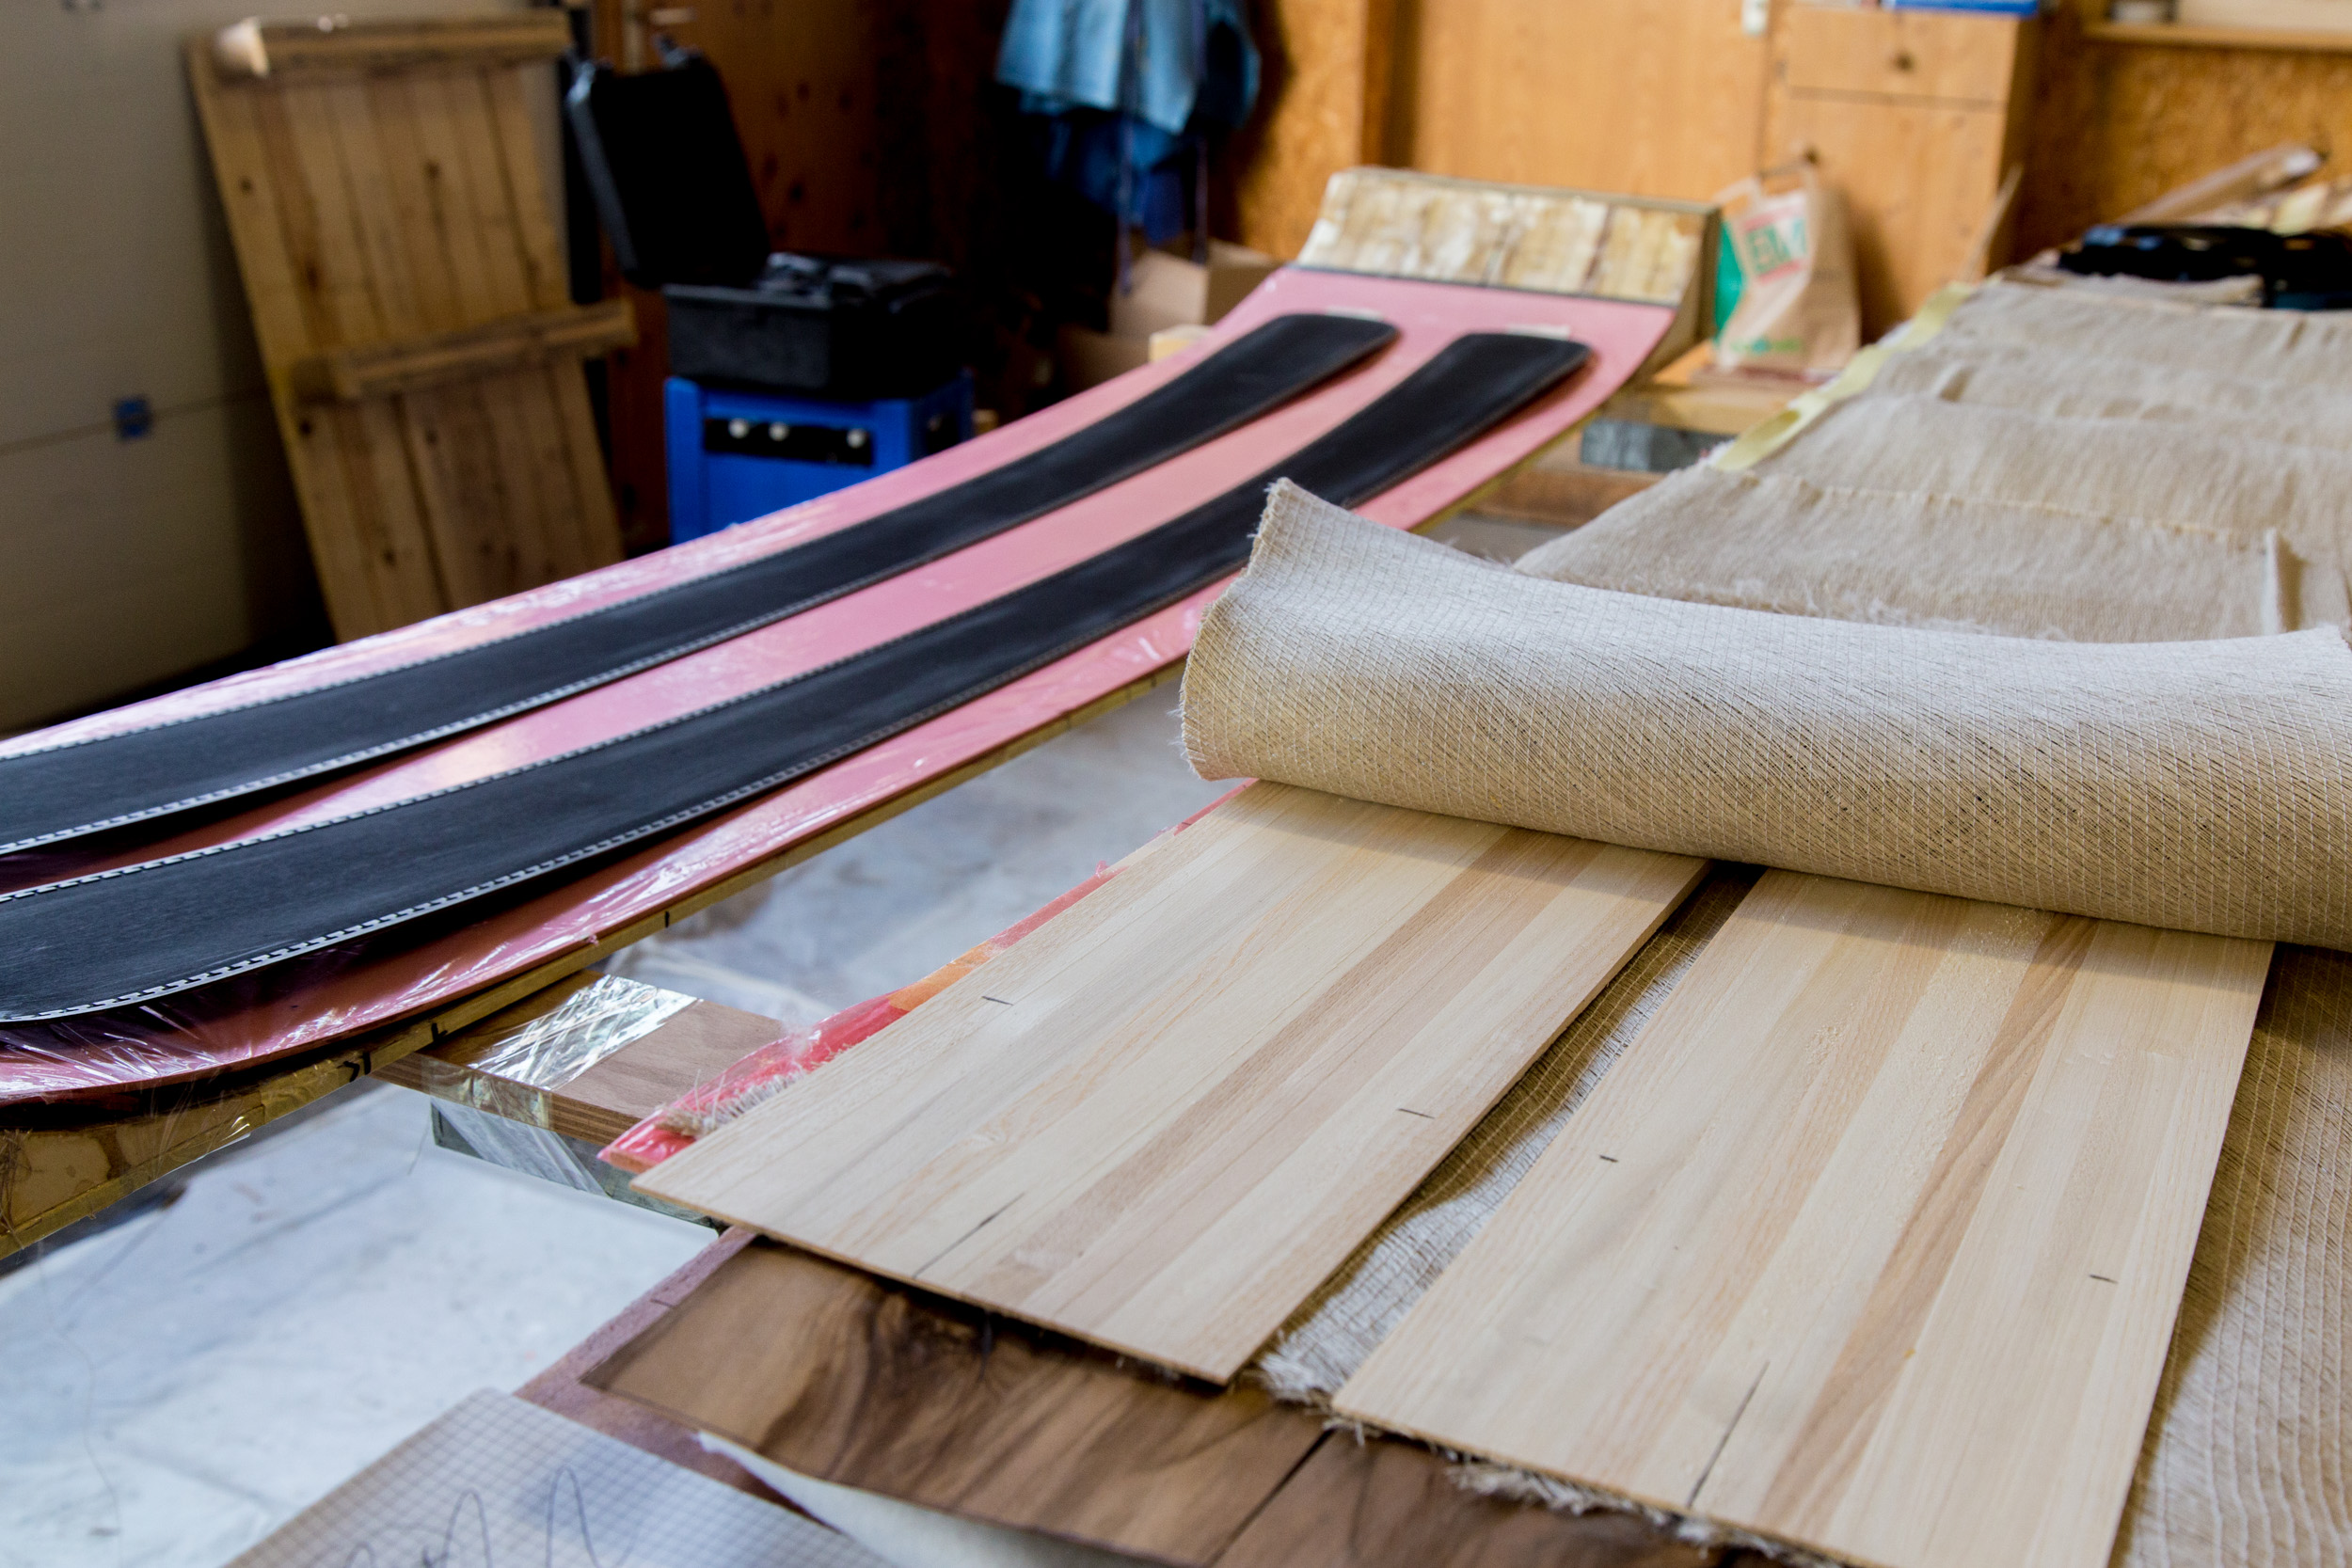
Next we prepared the „bed“, which gives the ski it’s form. Then we cut and prepare all the material that is glued on top of each other and basically make the ski. First, of all the base layer, the part that touches the snow. Attached to that goes the metal edge. This was one of the hardest jobs to get the metal edge in the right place and shape. Next there are 2 layers of flax, the wooden core, again two layers of flax. An on top of all goes a wooden layer. We had a lot of different woods and patterns to choose from. I went for apple tree, which has an amazing structure.
The last step for the day was to glue all the layers together. For this, you need to wear a mask, because the chemical called „proxi“ (no idea what it actually is) is quiet toxic. A lot of proxi was applied between each layer. The whole thing was put in a bag and the air sucked out with a vacuum pump to apply pressure. The bag was then put into the oven over night.
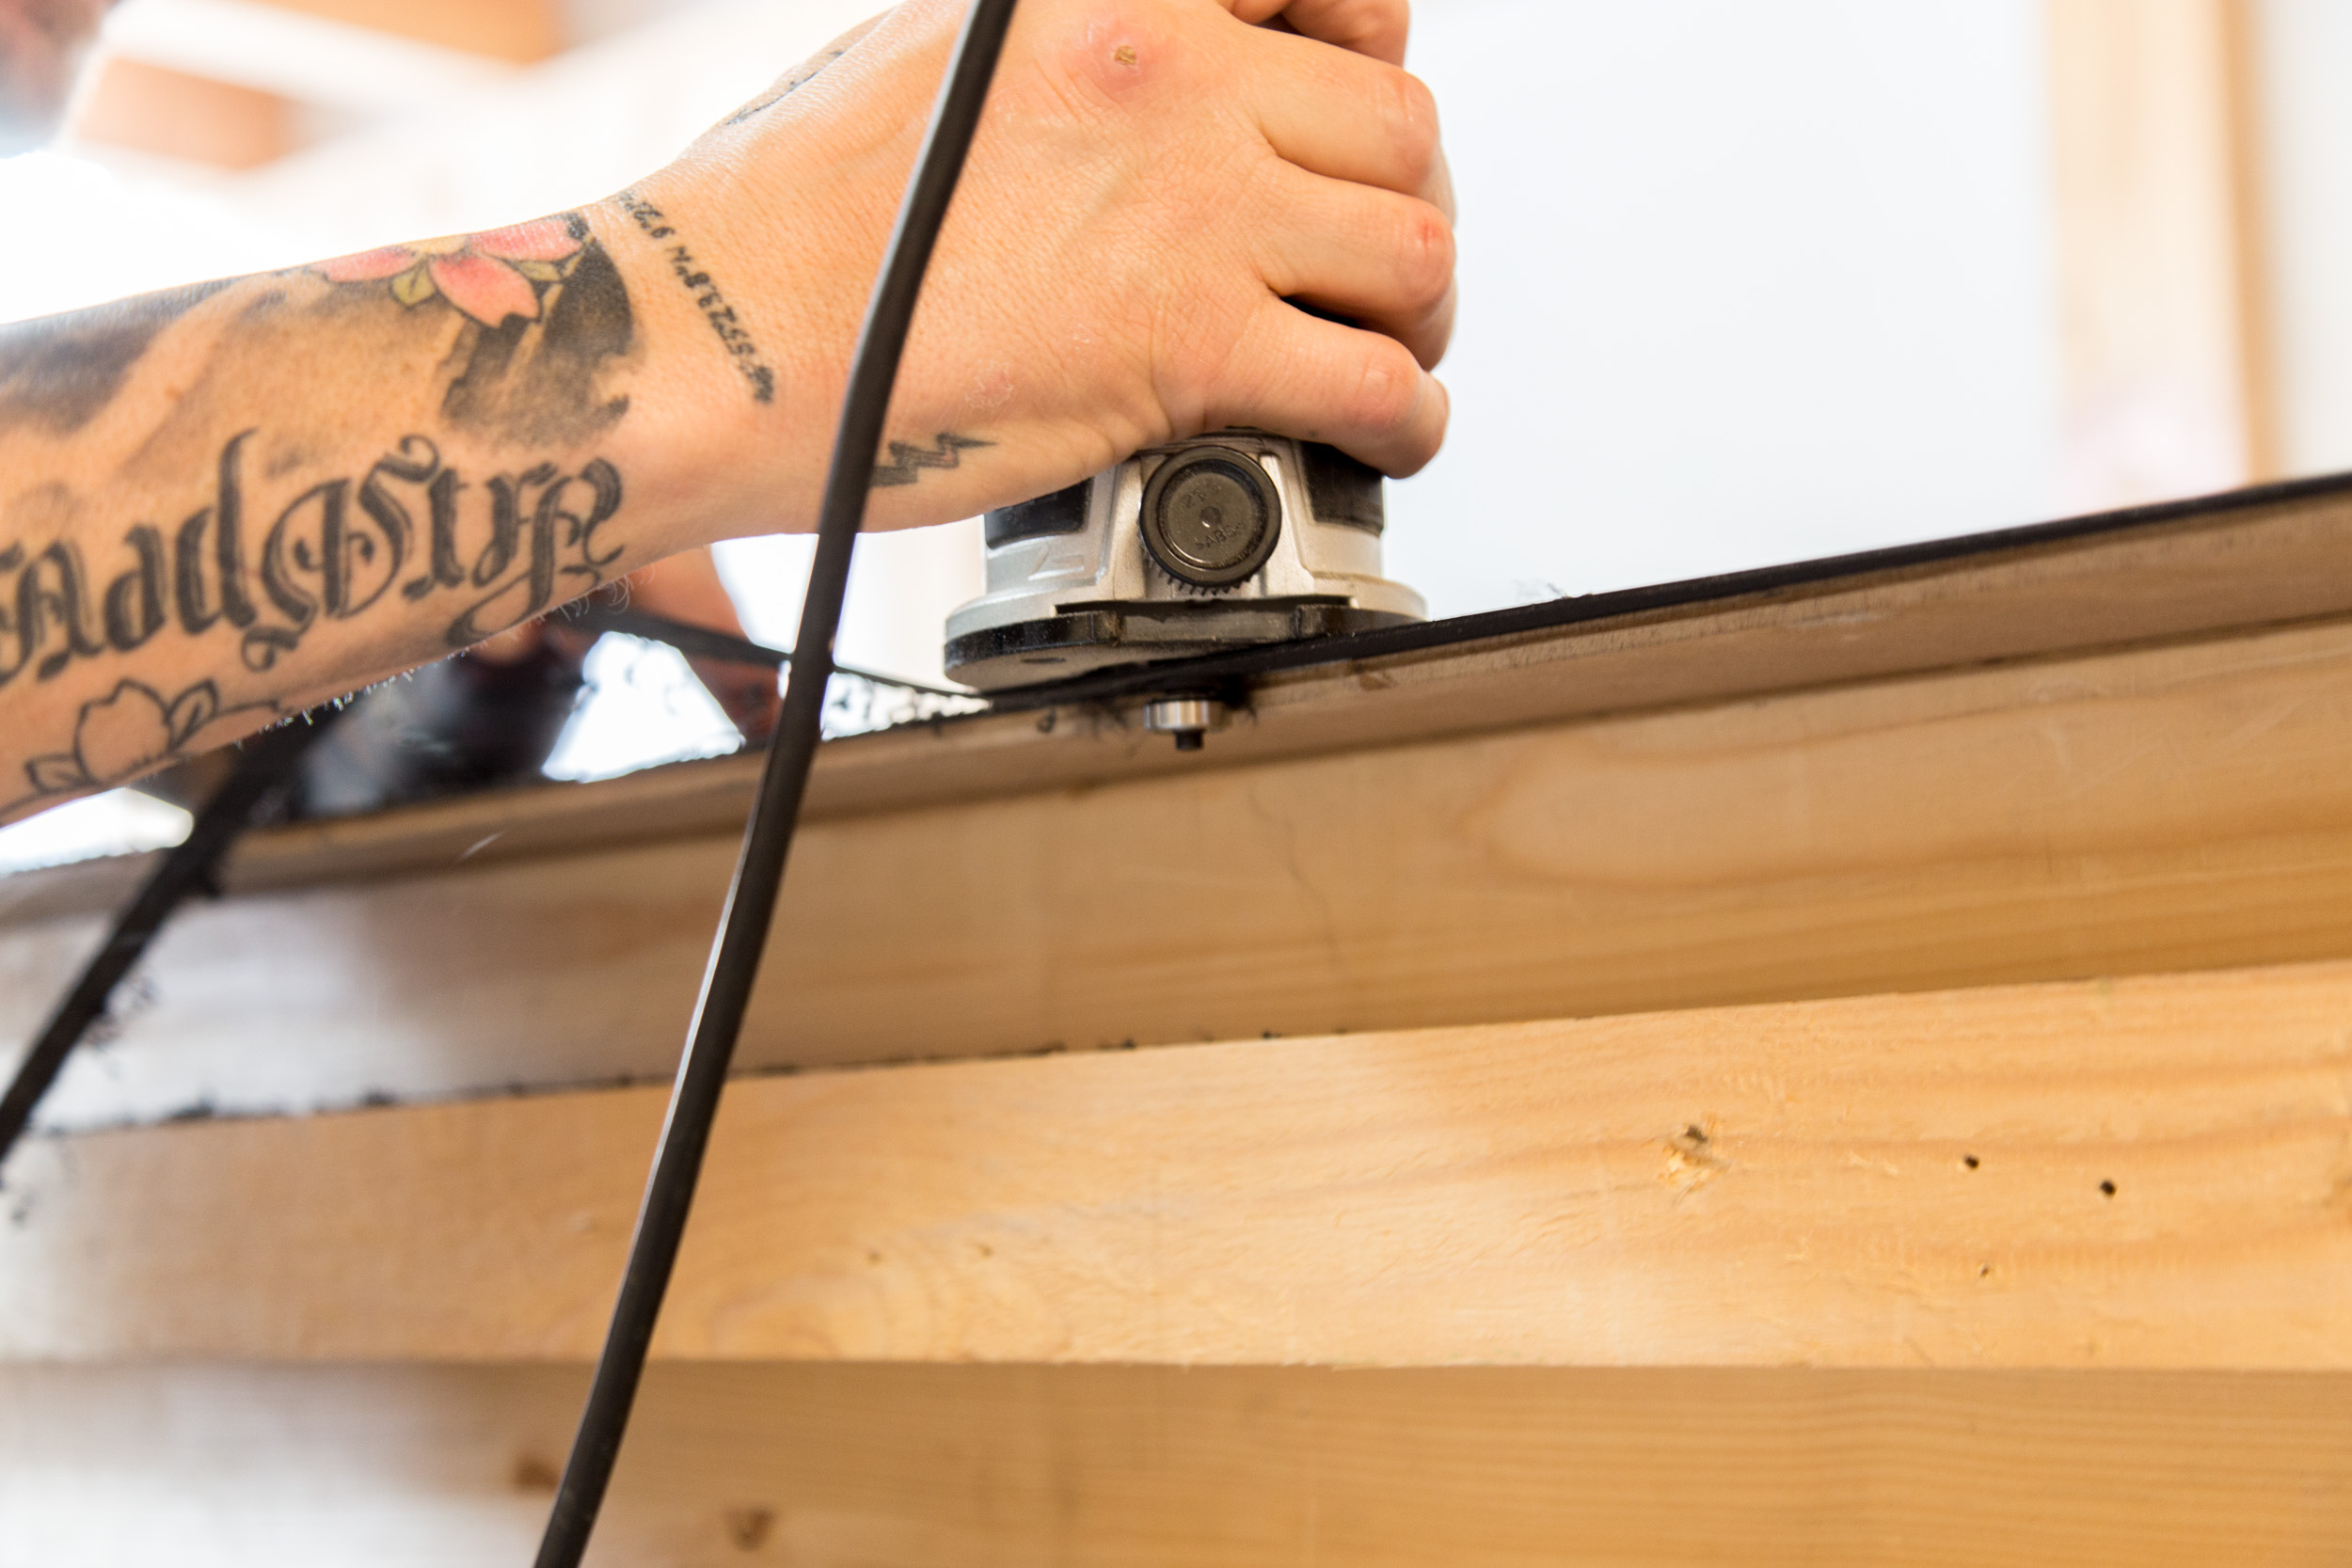
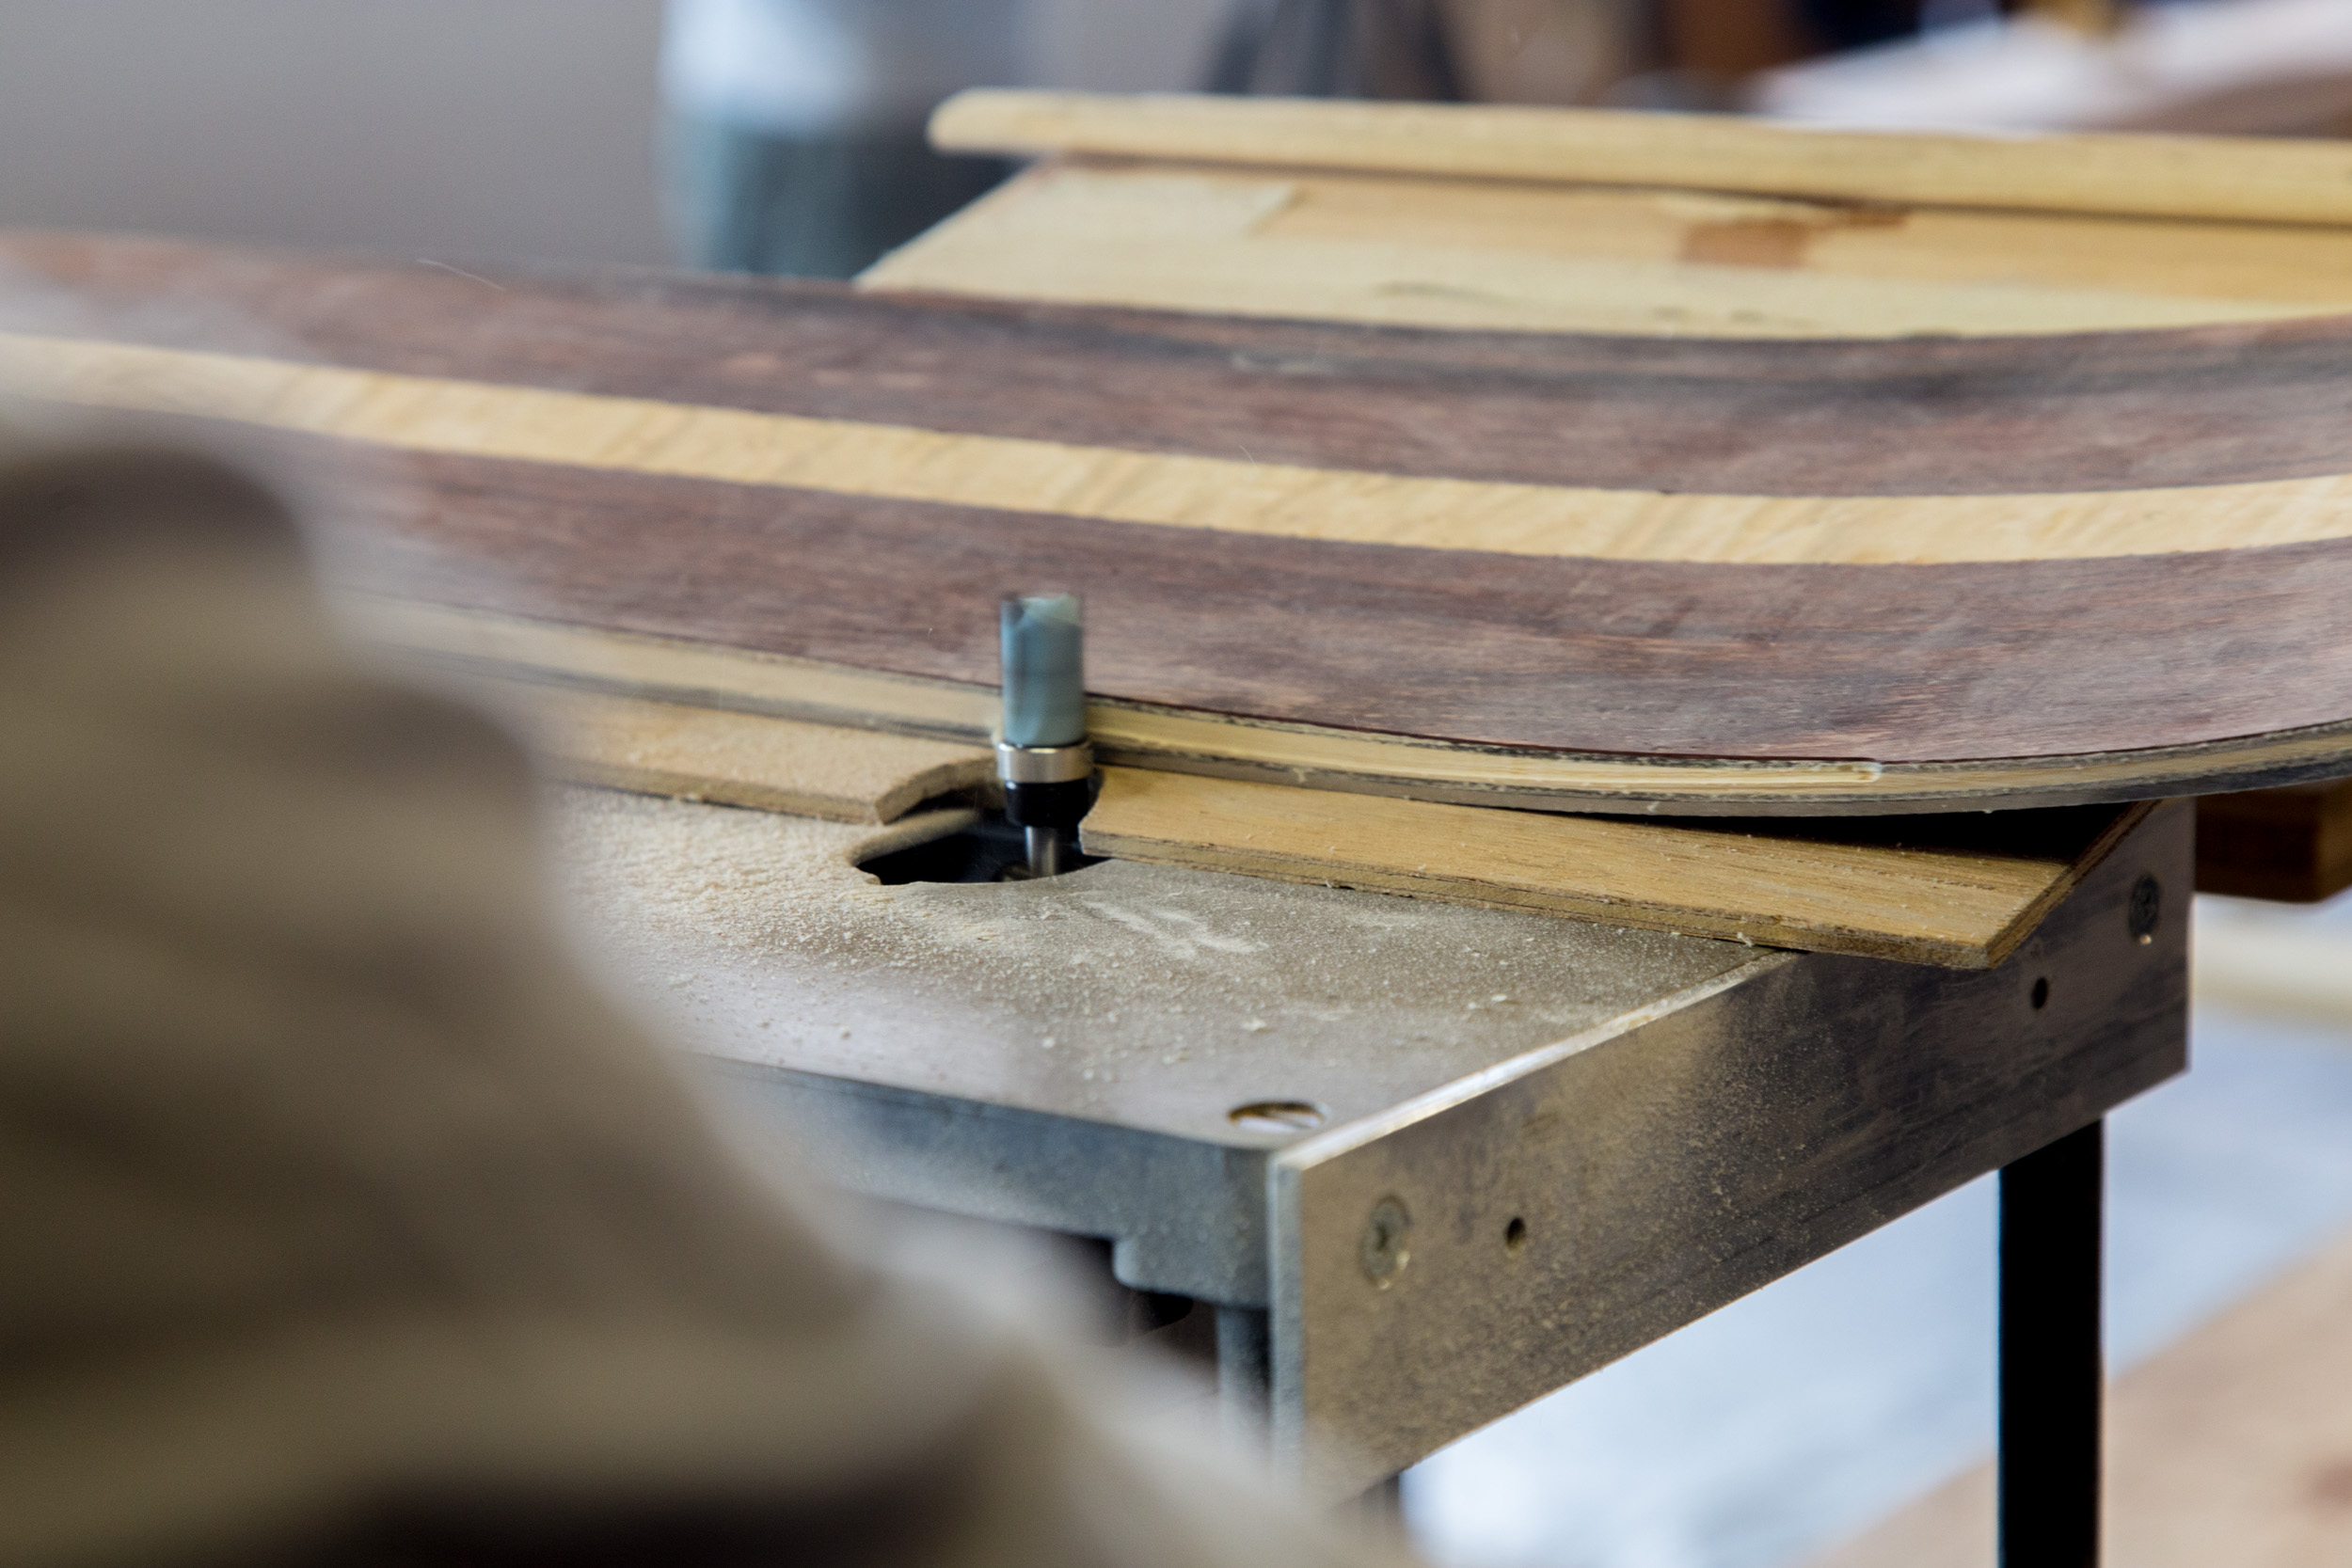
The next day, we started at nine. This was the fun day and much easier work. First thing, taking the skis out of the oven, open the bag and remove all the stuff around the skis. Next we removed the proxi from the top of the ski with a razor blade. Then we cut the ski with a saw, and sanded the edge to the right shape. The edge of the ski were sawed with a special tool. And then everything was sanded again with finer sand paper.

Finally, we could choose if we wanted to laser something onto the ski. I decided for a small mountain with some trees. The design is from @lostswissmiss with a tiny adaptation. The ski still looked a bit boring and pale. But then magic happened, when I applied oil to the ski. And the crazy patterns started to emerge.
I’m very happy with the result and a bit proud. And I’m looking forward to test them! Thank you Ben and Urs for your patience and sharing your knowledge.